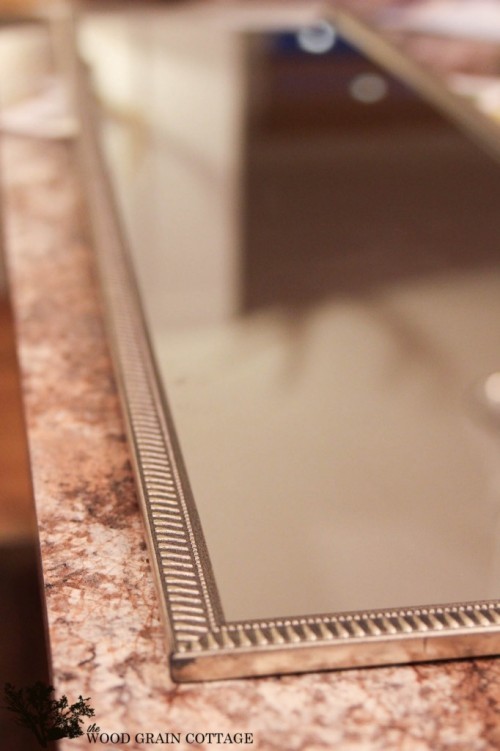
Here is the before picture. Not something I would want in my house. 🙂

thewoodgraincottage

thewoodgraincottage
Here is how you get to the “after”.
Instructions:
- Find a cheap mirror from any discount store. If it is framed, remove the frame and backing leaving only the mirror.
- The picket fence slats are rough-cut which gives them more character but you may want to rough them up even more. Use a hammer and a nail setter to add random marks to the wood. A hand saw can also be used to distress the wood.
- Measure out how large the framed mirror will be and and rip the 1/4″ underlayment to match the mirror’s measurements (including the frame).
- Place the mirror in the center of the underlayment and use glue to affix the first side picket fence piece to the underlayment.
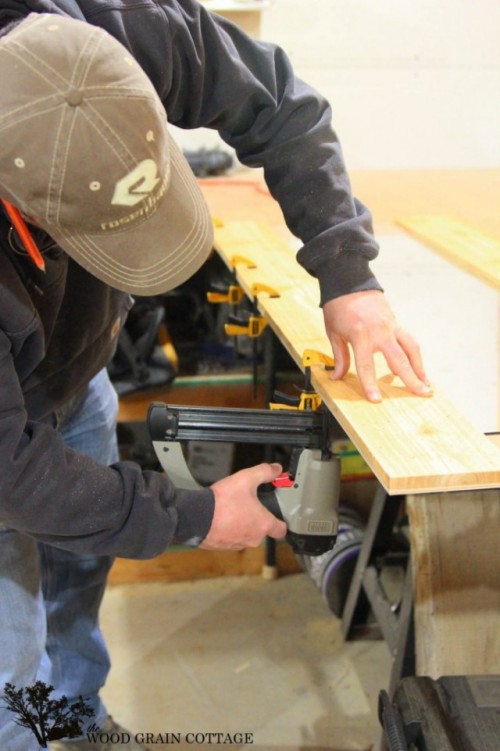
- Once glued in place, use a clamp to secure it and a nail gun to attach the two together.
- Do this for both side pieces and then measure out/cut the top and bottom pieces.
- Attach the top piece in the same fashion. (Do not attach the bottom just yet.)
- Stain the attached frame and the bottom piece which is not yet attached. (The mirror in the picture was stained with Early American by Miniwax.)
- Once the stain is dry, apply waterproof silicone to the mirror area and fix the mirror to the backing. (Do not use liquid nails for the mirror, it will bleed through the backing.) Apply equal but firm pressure to the mirror to hold it in place.
- Once the mirror is tightly fit against all three edges, add the bottom piece of wood with the wood glue, clamps and nail gun.
- Apply equal pressure on the mirror overnight.
There you have it!
You can hang this on a wall or door or simply lean in on a wall. (Make sure to anchor it!)
Thank you to thewoodgraincottage for this great tutorial and definitely check out their site for lots more pictures of this great DIY!
Have you ever used picket fence slats for projects? Tell us about it!
Pages: 1 2


No comments yet... Be the first to leave a reply!