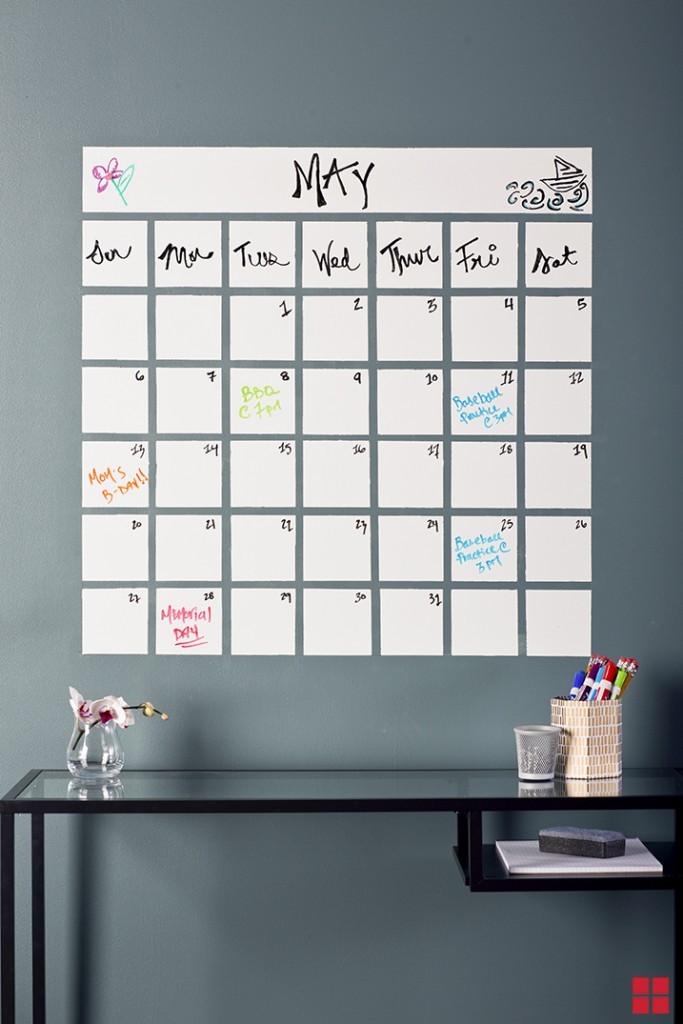
You are basically going to painting your dry erase calendar directly onto your wall. I say, make it HUGE!!!
Materials:
- Rustoleum Dry Erase Paint, Parts A and B (Rustoleum also makes a magnetic primer.)
- Drop cloths
- Small foam roller
- Painter’s tape
Directions:
- Cover all nearby items with a drop cloth.
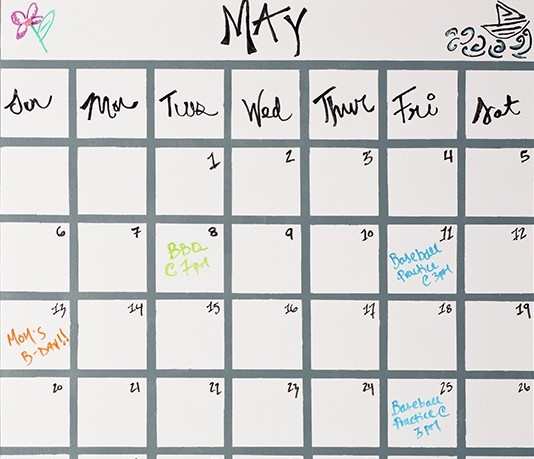
- Using painter’s tape, outline your calendar and make a grid for the dates. It will be a perfect square with 7 columns, 6 rows and one solid strip along the top for the name of the month. (See the picture for your guide.)
- Add part A into part B, mix well.
- Using your small foam roller, apply a layer of the paint using light, even strokes and not over rolling.
- Allow the paint to dry for 2 full days before using a dry erase marker on it. (Take the tape off much sooner–painter’s tape becomes difficult to remove if left on too long.)
- Now, ORGANIZE!!!

How would a calendar like this help you? Tell us and send us the pics of the one you make!
Thank you to rustoleum for this awesome project and great pic!
Pages: 1 2


No comments yet... Be the first to leave a reply!