Supplies:
- Your table of choice
- Fabric of your choice
- Fabric starch
- Poly-acrylic finish
- Iron
- Razor blade
- Bristle brush
- Trim (optional)
Here is what you will do:
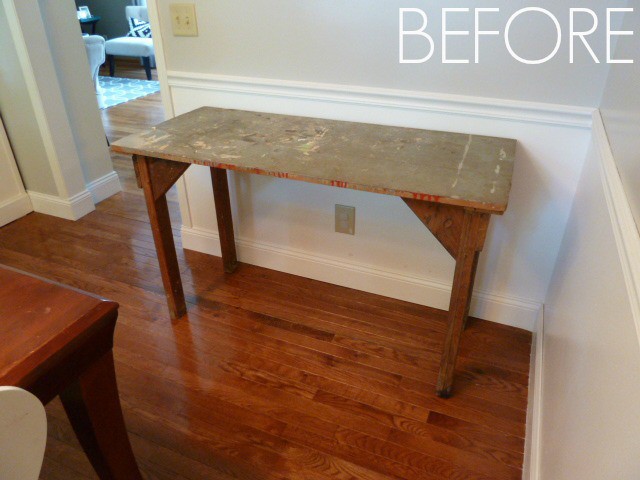
1. Prep your table as needed, i.e., fill in any holes with wood fill, make sure it is fully wiped down and clean. Don’t spend time sanding or priming–we are going to cover the whole thing.
2. Get your fabric out and iron well with the fabric starch. This will make it much easier to fold those corners and get your edges really tight and smooth. See what I mean?

3. Cut the fabric to measure for the table. Each piece should leave room for some wrap around. Think as if you are cutting wrapping paper for a gift.
4. Using a bristle brush, apply the poly-acrylic finish to the table section you will be working on and lay your fabric on it. Using the iron, press the fabric onto the table until it is dry and completely adhered.
5. Continue working in this way until the whole table is finished. Make sure you are always folding corners nice and tight.
6. As you work use your razor blade to trim excess fabric.
(This video from Martha Stewart may be of some help.)
7. When all the fabric wrapping is done, apply a top coat of the poly-acrylic finish and let dry completely.
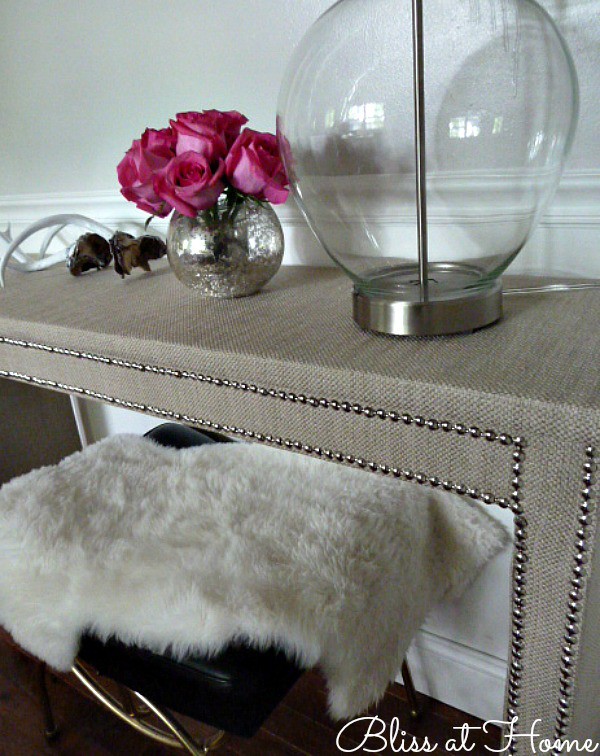
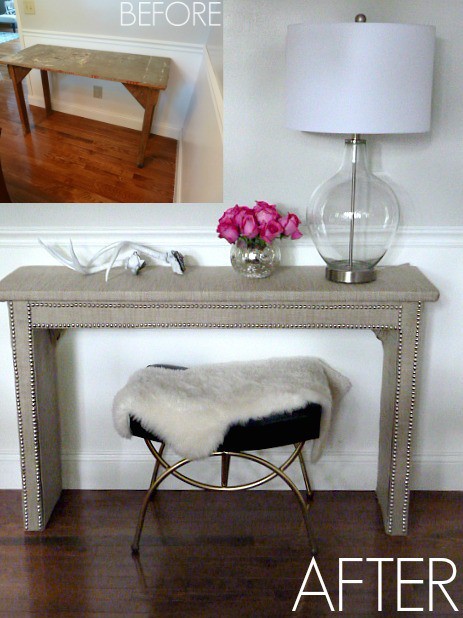
8. The trim is optional and should be applied per the directions. Here she used nailhead trim for a beautiful and finished effect. It is an easy last step so consider it! Check it out!

This is a truly miraculous makeover!

Do you have a table in mind for this DIY? Please send us your before and after pics!
Thank you to sarahmdorseydesigns and blissathome for these great pics and tutorial!


7777h&6iùhjjh&