

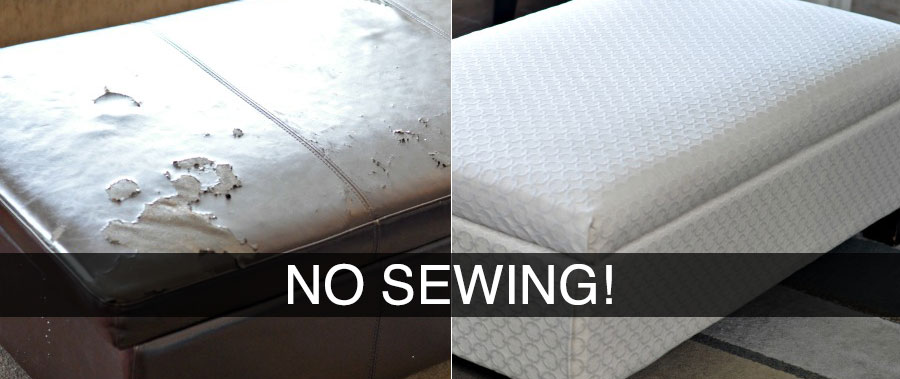
So, here is what peeling “genuine bonded leather” looks like. Look familiar? It DOES to me!
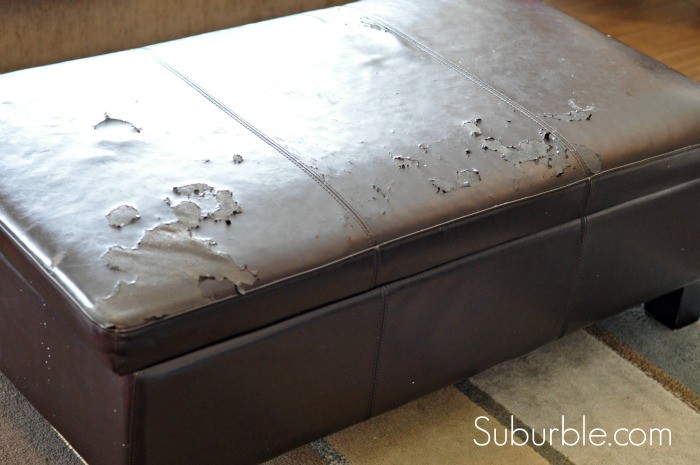
Here is how to get rid of it!
Materials:
- Staple gun
- Pliers
- Flat head screwdriver
- Box cutter
- Elbow grease
Directions:
- Remove the feet from the ottoman.
- Get the lining unstapled and out of your way.
On the underside of the ottoman, there may be a lining. If so, pluck out all the staples using your flat-head screwdriver. (If there is hardware attached to the lining, do not remove it.)
You do not have to completely remove the lining. You will be reusing it and stapling it back over the new fabric. If the lining is stapled to the frame in the middle, just leave that. Bundle the lining fabric in the middle to get it out of your way and get to work on the leather.
- Using the box cutter, cut off all the leather. save the foam on the ottoman. You are only removing the fabric.
- Now you should have a naked ottoman, foam intact, lining reusable on the bottom.
- Take your fabric, stretch it over the top, pull it down and staple gun it to the bottom. Using a fabric with a pattern on it will be helpful so you can use it to guide you to pull and staple.
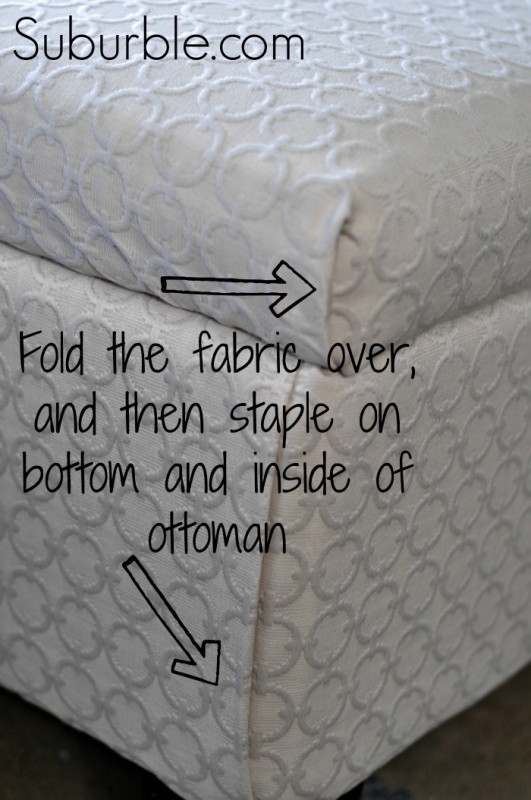
Here is a good tip from suburble:
Don’t sew the seams.
The original leather on the ottoman was stitched on the corners. And that looked nice. But it didn’t look easy – and this mama likes the easy way to do stuff.
So, I created my “no-sew ulphostery corner”. I cut the fabric into lengths that were about six inches longer than the fabric frame. Then, I folded the fabric onto itself and stapled it into the frame. Honestly, it took about a minute to do, and the end product looks pretty tidy! I deftly avoided a “sobbing over the sewing machine” moment!
- Once the fabric is all stapled down, pull the lining across the bottom of the ottoman. The screw holes in the frame will be covered now with your new fabric but if you stretch out the lining just as it was before, the holes in the lining will indicated where they are underneath.
- Screw the feet back into where the liner indicates.
That is all there is to it! Taking a box cutter to the leather may seem a bit scary at first but what is the worst that can happen? You are going to cover the whole thing anyway!
Thank you so much to suburble for this great tutorial and pics! You can check out their site for more pics. I am personally very excited about this!
Have you re-upholstered anything on your own? How did it turn out?


No comments yet... Be the first to leave a reply!