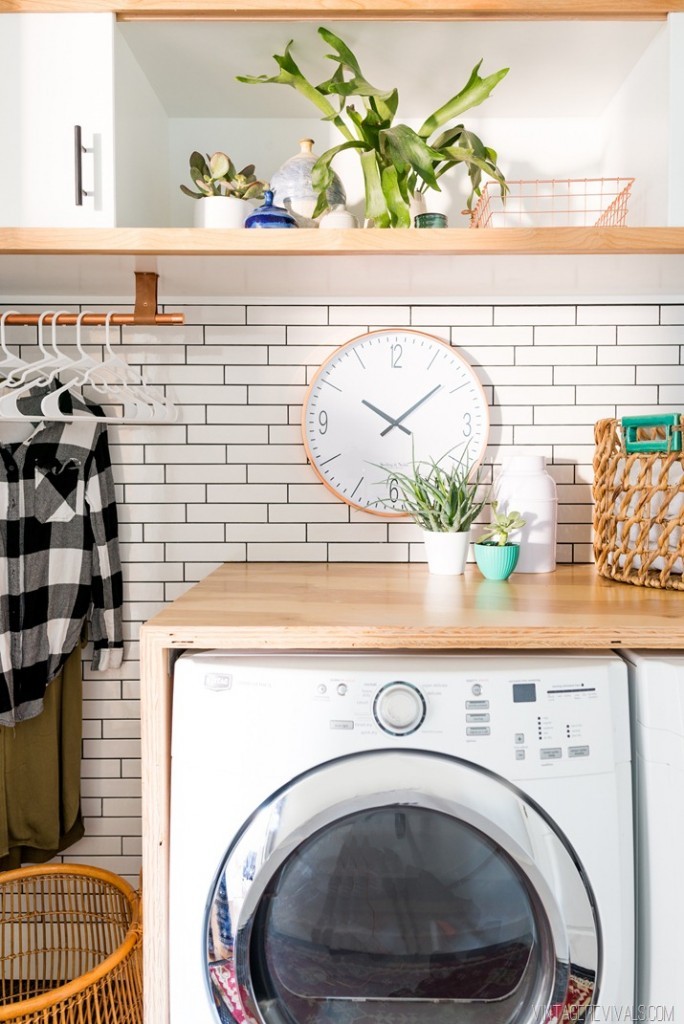
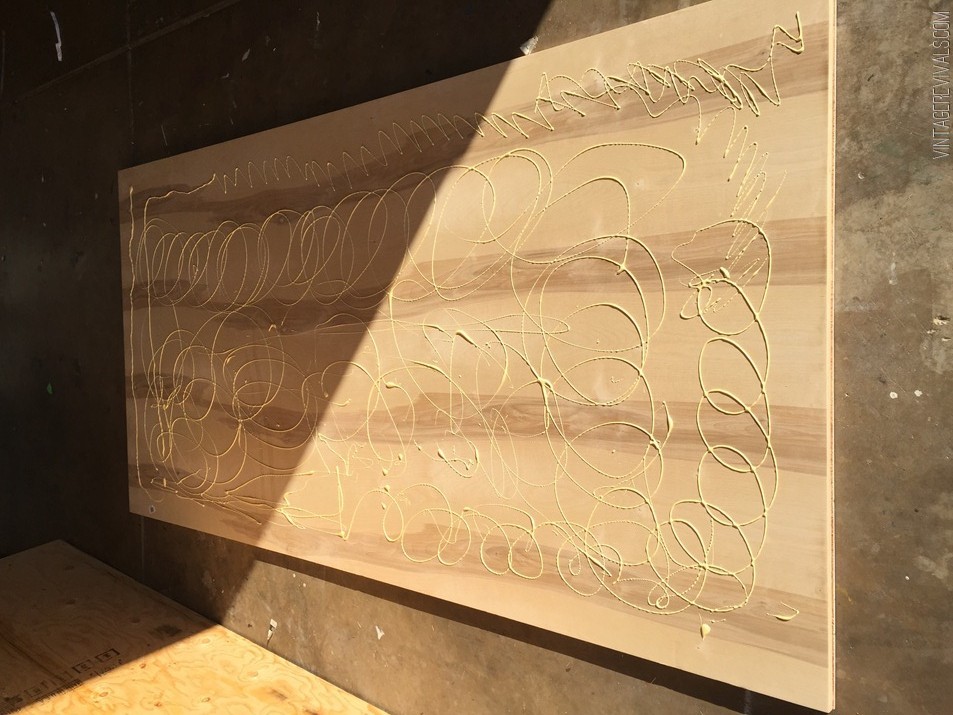
They began by creating an 8′ sheet of plywood with a beautiful Birch finish. To save money, they bought 2 sheets of plywood, one Birch and then saved by keeping the second one regular plywood. They glued them together with Titebond III wood glue. (Letting it cure/dry overnight while clamped or screwed together is needed.)
One important design element was that the natural woodgrain fall from the top of the counter down the side for that pretty continuity. So they used one 8′ piece and cut it so that it would line up. Once the DIY plywood had set, a 45 degree cut was made and then the wood was installed at the proper measurements so that the washer dryer would fit perfectly snug underneath.
The final product is beautiful!

You can see the continuous wood grain here:

Beautiful laundry room!
What is the prettiest thing in your landry room?
Thank you to vintagerevivals for this great idea and design tips! See their site for all the design deets and specs.


Great work on your laundry room.
Kyle Clevenger
What do you do when your Washing machine takes a walk during the spin cycle???