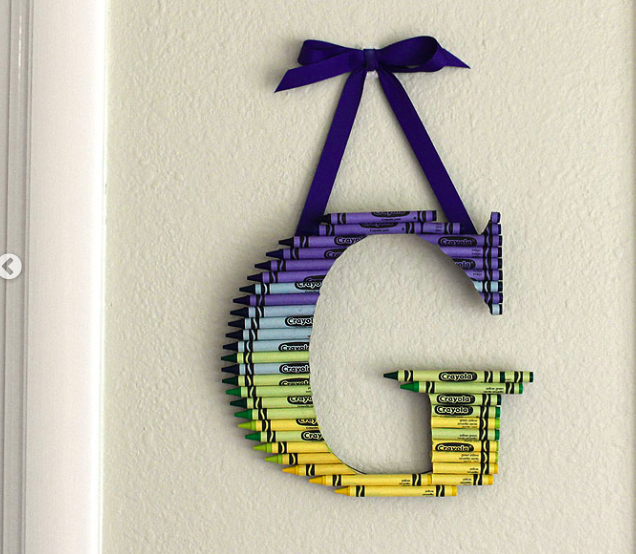
OMBRE CRAYON INITIAL
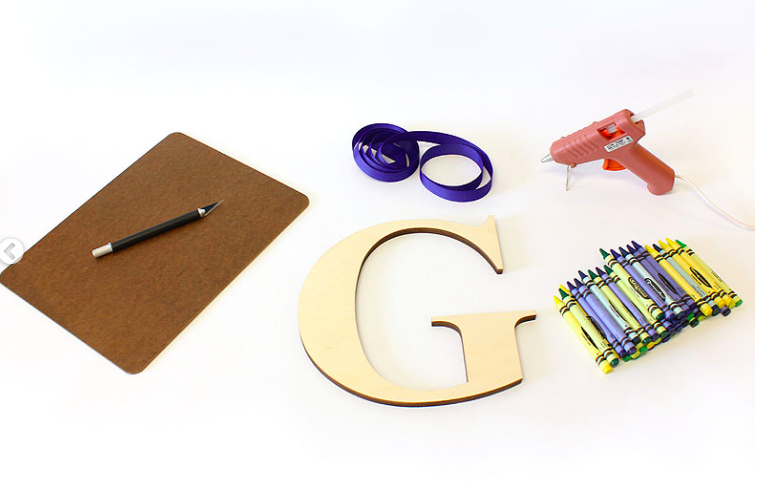
Materials:
- Wooden letter
- ribbon
- hot glue
- X-Acto knife
- crayons
- cutting board
Directions:
Apply a dab of hot glue and put on your first crayon. Decide which way you want the label facing and make sure you match them all up.
Most of the crayons will need to be cut to size. Here is the advice they give over at craftcuts about that:
Almost all the other crayons needed to be cut to match the shape of the letter. Use the razor knife to cut them to length. I held the crayon over the letter, marked it with the knife and then transferred it to the cutting board to cut. I found slow, steady pressure worked best. Let the knife do the work.
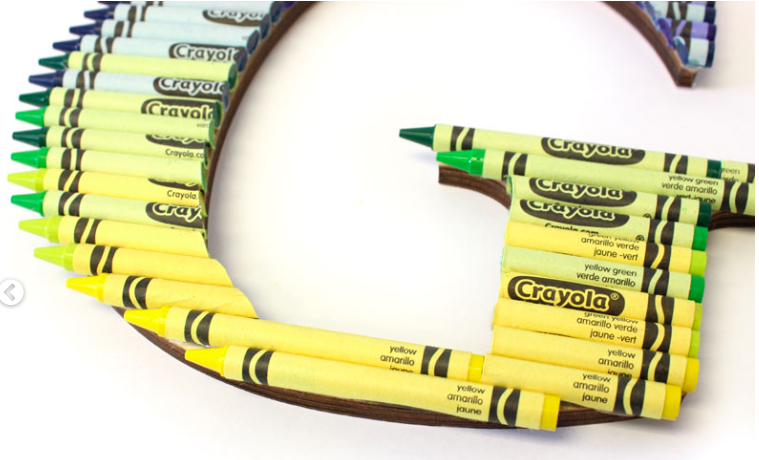
How to Create an Ombre Crayon Letter | Work your way up the letter cutting and then gluing each crayon in place. Here you can see how the edges of my crayons look.
Work your way up the letter cutting and then gluing each crayon in place. Here you can see how the edges of my crayons look.

When you are done hot gluing the crayons, also use the hot glue to affix a ribbon to the back and hang. So COOL!

Check out this amazing way you can use crayons and your hot glue gun to make another kind of amazing art!
Have you ever used crayons in a creative way?
Thank you to craftcuts for this great tutorial! See their site for more pics and deets on executing this project.


Whenever there is a “next page” I never go to it.
Blue and yellow make green
Cut and glue crayons to letter
Great craft
Made these for teacher appreciation gifts.