

First of all I have to say that I just LOVE that Rachel from MaisondePax made this mirror for her parents when she was helping them remodel their home. (I seriously hope my daughter will shower gifts like this upon me someday.)
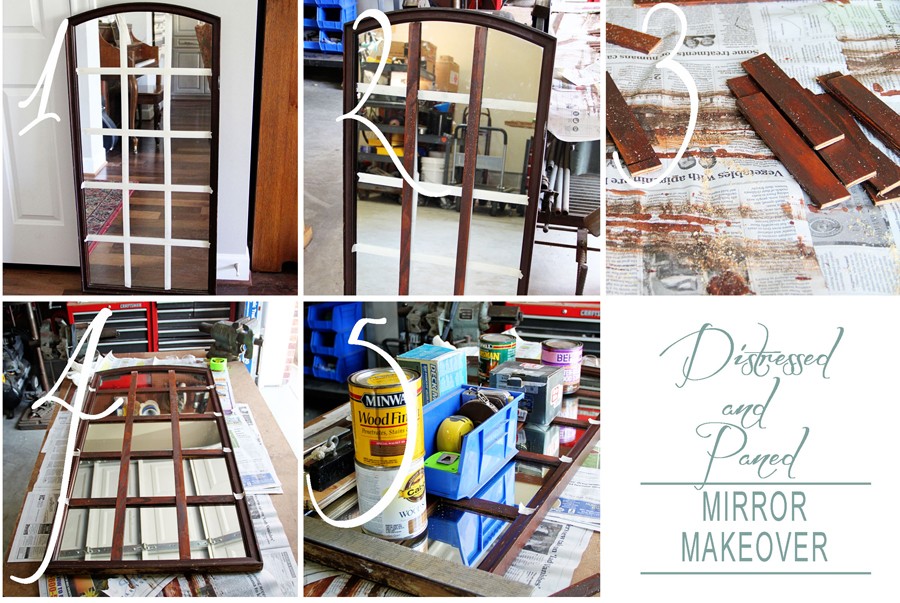
She began with a large wall mirror that had an arched top.
According to Rachel, here is what she did:
Step 1: Tape off a grid to determine placement for molding. Stain molding to match original mirror.
Step 2: Cut/measure vertical/horizontal pieces.
Step 3: Fit all molding (hint: measure frame and mark proper locations with tape to ensure even spacing.)
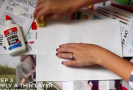
Step 4: Glue all molding to mirror (tip: Gorilla Glue is AWESOME, but it expands when it dries, so be sure not to use too much!) and weigh down with heavy objects until dry.
Step 5: Fill any gaps with wood filler.
Step 6: Paint with chalk paint (good because it will stick to your original mirror regardless of the finish… see more about homemade chalk paint here) and distress with sandpaper as desired.
Step 7: Wax with clear and dark wax to achieve desired, aged effect.
The final product is gorgeous and would certainly sell for a pretty penny IF you could buy it in a store.

Have you ever remodeled or upcycled a mirror? Show us your BEFORE/AFTER pics!
Thank you to maisondepax for this great tutorial and beautiful pics. You can see more on this project at their site.


No comments yet... Be the first to leave a reply!