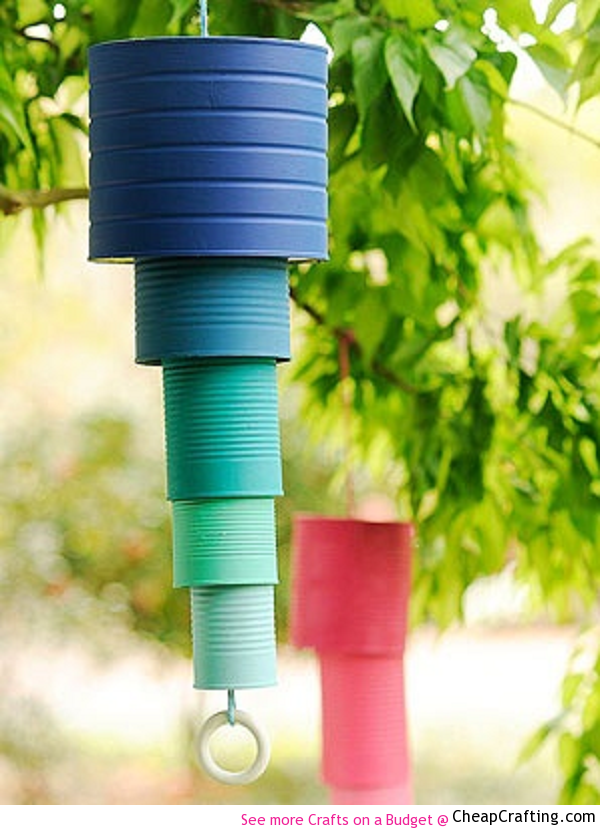
Can Wind Chime
Supplies:
- 4-5 cans in sizes that will nest together
- hammer
- nail
- primer
- paint
- brush
- heavy cotton string
- wooden rings
Directions:
- Take the lid and paper wrapper of each of the cans. Rinse and dry well.
- Using a hammer and nail, poke a hole in the bottom of each can.
- Give the cans a coat of primer, let dry and then paint.
- Measure a piece of string the is the length of all the cans put together plus 3 extra feet.
- Knot a wooden ring onto the end of the string and thread is through the hole in the smallest can.
- Figure out how long you want the can to hang and slide it up the string. Then tie a big knot and slide the can down again so that it lays on the knot.
- Continue this process with the other cans and be sure to make them overlap a bit so that they will chime.
- You will have leftover string from which you will make a hanging loop over the biggest can.
The finished product is so charming!

Have you ever made a wind chime? How?
Thank you to cheapcrafting for this great idea!
featured image source
Pages: 1 2


cute idea