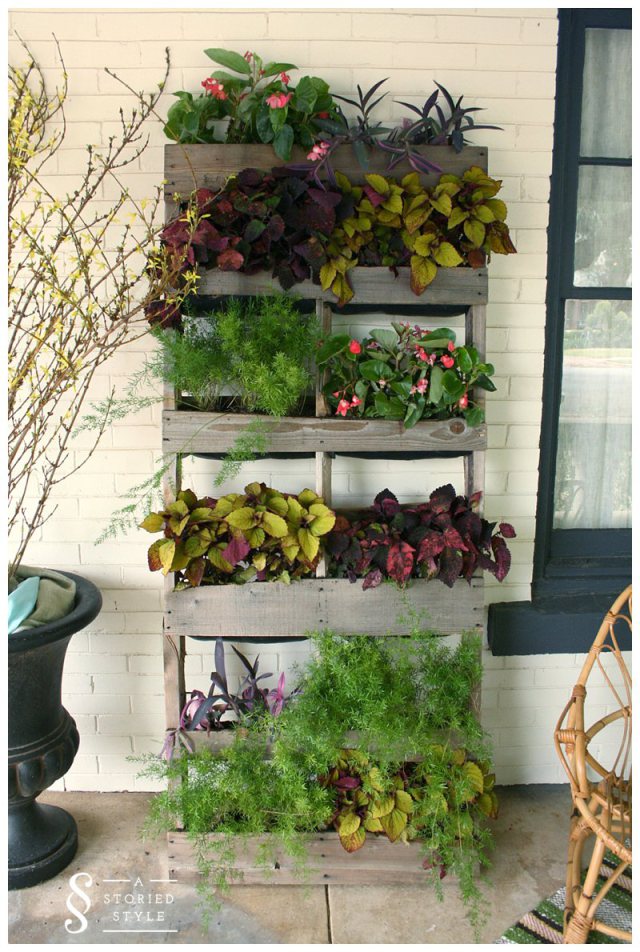
Materials:
- Pallet
- Staple Gun
- Weed Stop Material
- Plants
Directions:
If the slats on your pallet are too close together, you can remove every other one to make more room. Here is the best way to get remove the slats.
Clean off the pallet and give it a coat of mineral oil to brighten it up. (You could give it a light sanding, too if you felt it could use it.)
Next, you will be cutting the weed stop into small rectangles for the plants to sit in. (This product will give your plants a place to sit and also allow extra moisture to drain so they don’t get root rot.)
This step is something you will have to improvise according to your pallet. The following will help:
According to astoriedstyle:
Cut your fabric to size depending on the measurements of your pallet. You can always cut a piece making it fit as you go along. This is not an exact science. Although I will tell you, I used one layer per shelf of the Weed Stop for my project, and I wish I had doubled up. This material is strong, but thin, and you have to be careful not to tear it when you are pushing plants into the pockets. So if I were to do it over, I would cut two pieces the same size, place them on top of each other, and attach them to the pallet.
To attach your Weed Stop to your pallet, first use your staple gun to attach the fabric to the BACK of the front panel of your first shelf. Then pull it tight and attach it to the back of the pallet like so:

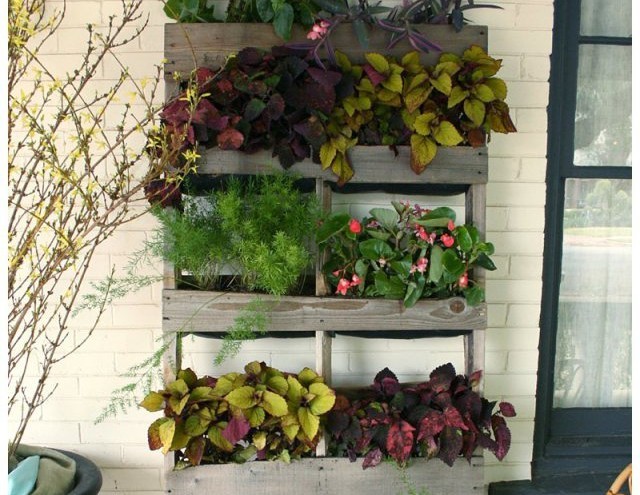
Now you have you pockets that you will fill with soil and plants. Be gentle with the fabric not to tear it and when you are done just stand back and admire your work!

Do you have a creative planter idea that you love? Please share it with us!
Thank you to astoriedstyle for this awesome tutorial! See their site for even more pics.


No comments yet... Be the first to leave a reply!